Doing your own blow-dry: the method, and its limits
A method you can learn, and a nape you never see.
By Manel, M BRUSH5 min read
N° 06
The appointment
The essentials
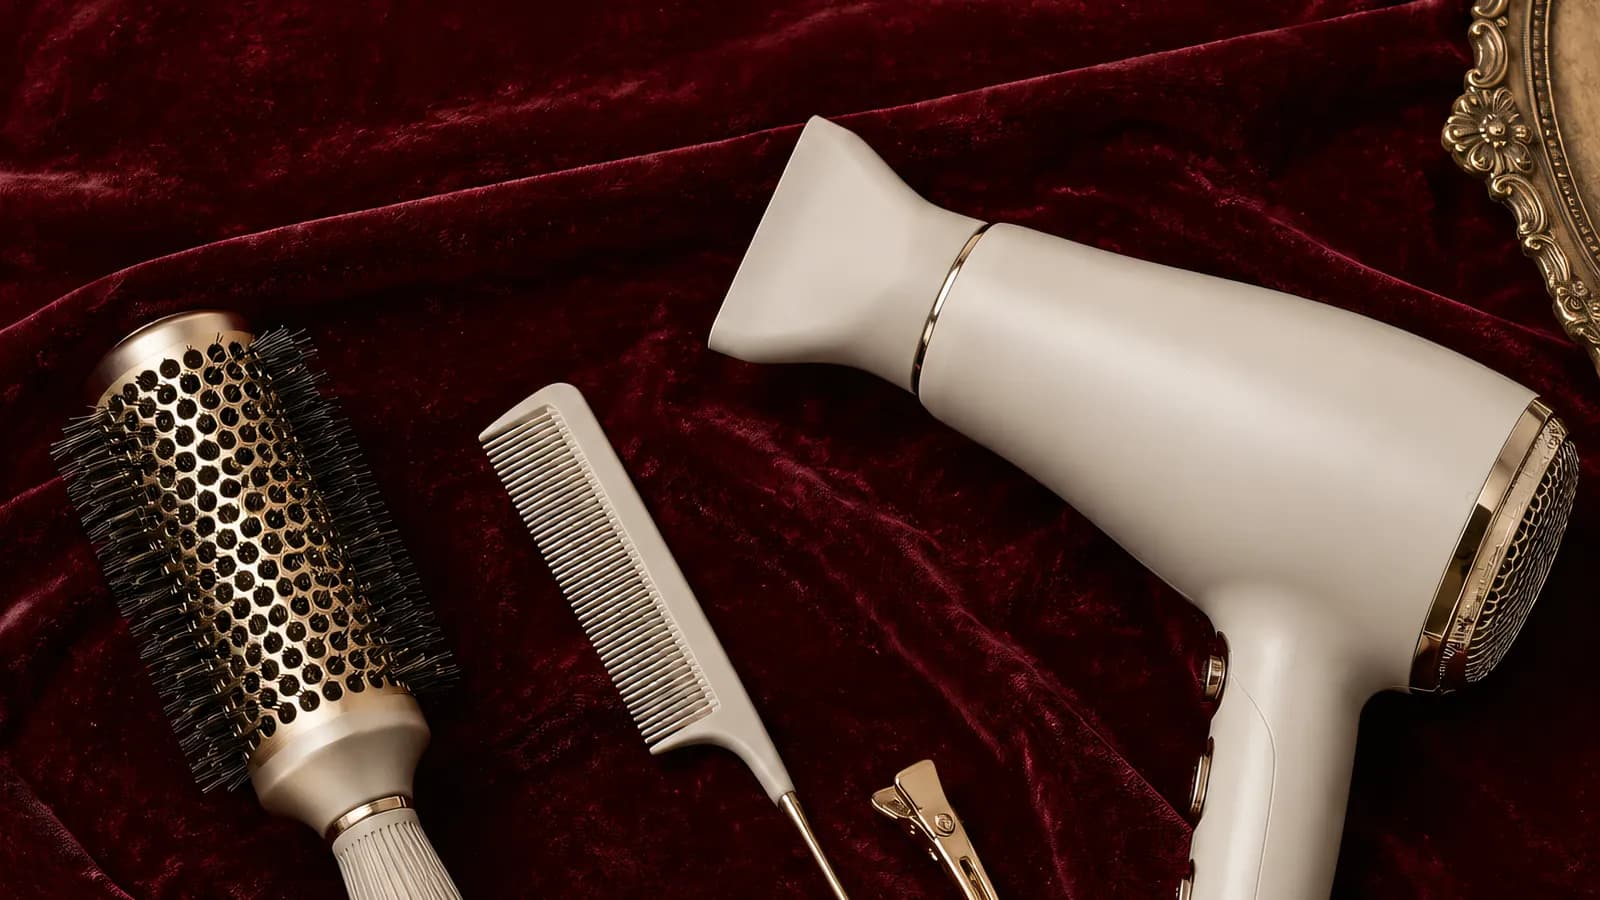
To do your own blow-dry, you need a hairdryer with a nozzle, a round brush, clips and a heat protector. Rough-dry, divide into sections, then work each strand from root to tip, the air pointing downwards, before cooling it. The back of the head remains the real difficulty.
Yes, you can learn to do a beautiful blow-dry at home. You need the right kit, a little method and plenty of patience the first few times.
But let's be honest too: some things stay difficult when you are working on your own head, arms raised, unable to see the back. Here is the step-by-step method, then its limits.
The kit that makes the difference
There is no need to buy everything, but four tools really change the result.
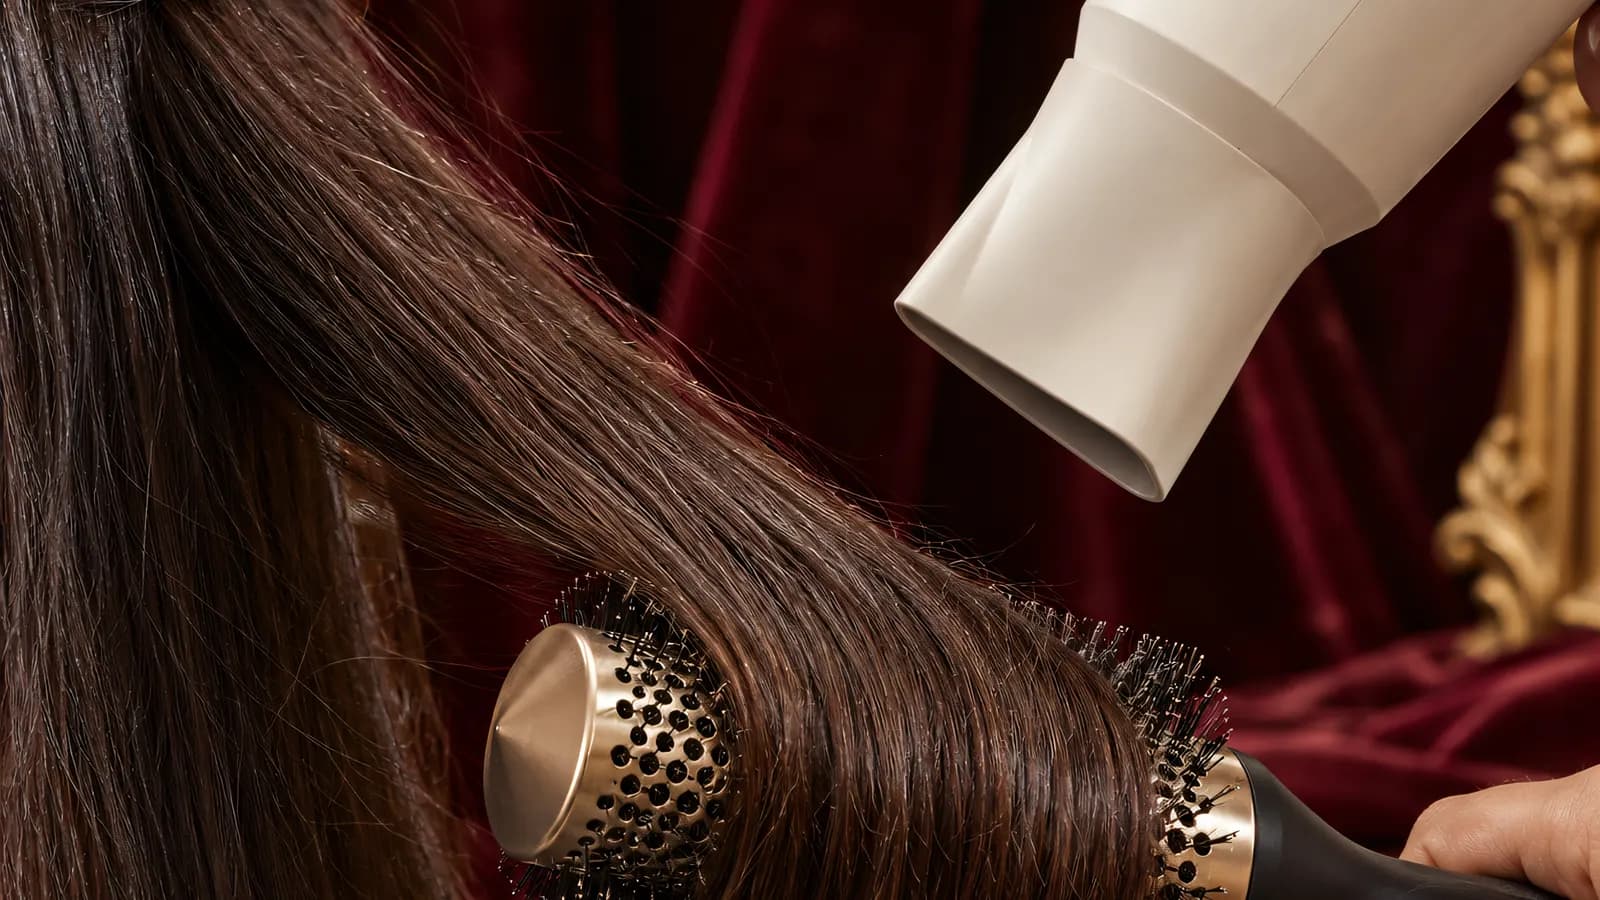
- A hairdryer with its concentrator nozzle. The nozzle directs the air onto a single strand instead of blowing in every direction. Without it, a clean smoothing is impossible.
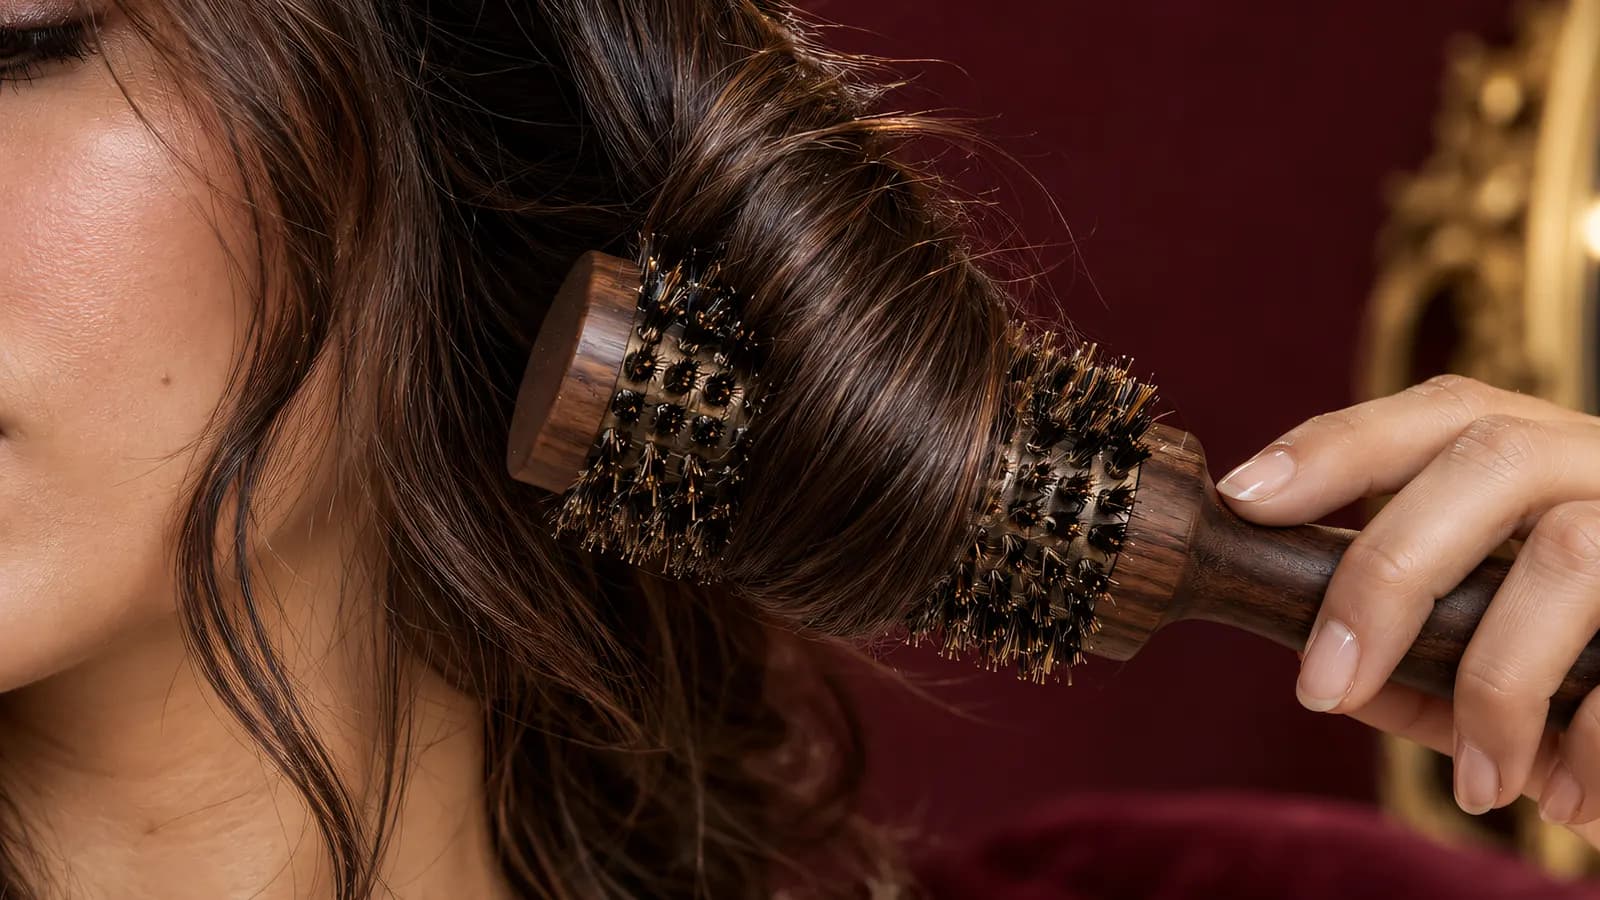
- A round brush. Its diameter decides the curve: small for short hair and neatly rounded ends, large for longer lengths and a smoother finish.
- Sectioning clips. They hold aside the hair you are not working on yet.
- A heat protector. Applied to damp hair before any heat, it limits the drying out of the fibre.
Add a wide-tooth comb for detangling, and a microfibre towel, softer than cotton.
Before you start
A blow-dry begins on clean hair. Wash, rinse thoroughly, apply conditioner to the lengths only, then rinse well. Squeeze out the water by pressing the towel, without rubbing.
Then, two steps that are often overlooked.
- Detangling, with the wide comb, starting at the ends and working up towards the root.
- Rough-drying. Dry roughly, without a brush, until the hair is almost dry. Working a soaking wet head with a brush takes forever and tires the fibre for nothing.
At home, you can use your heat protector. If you book one day at M BRUSH, the instruction is different: you come with clean hair, without oil, serum or styling product. We explain why in the article on preparing your hair before a blow-dry.
The method, step by step
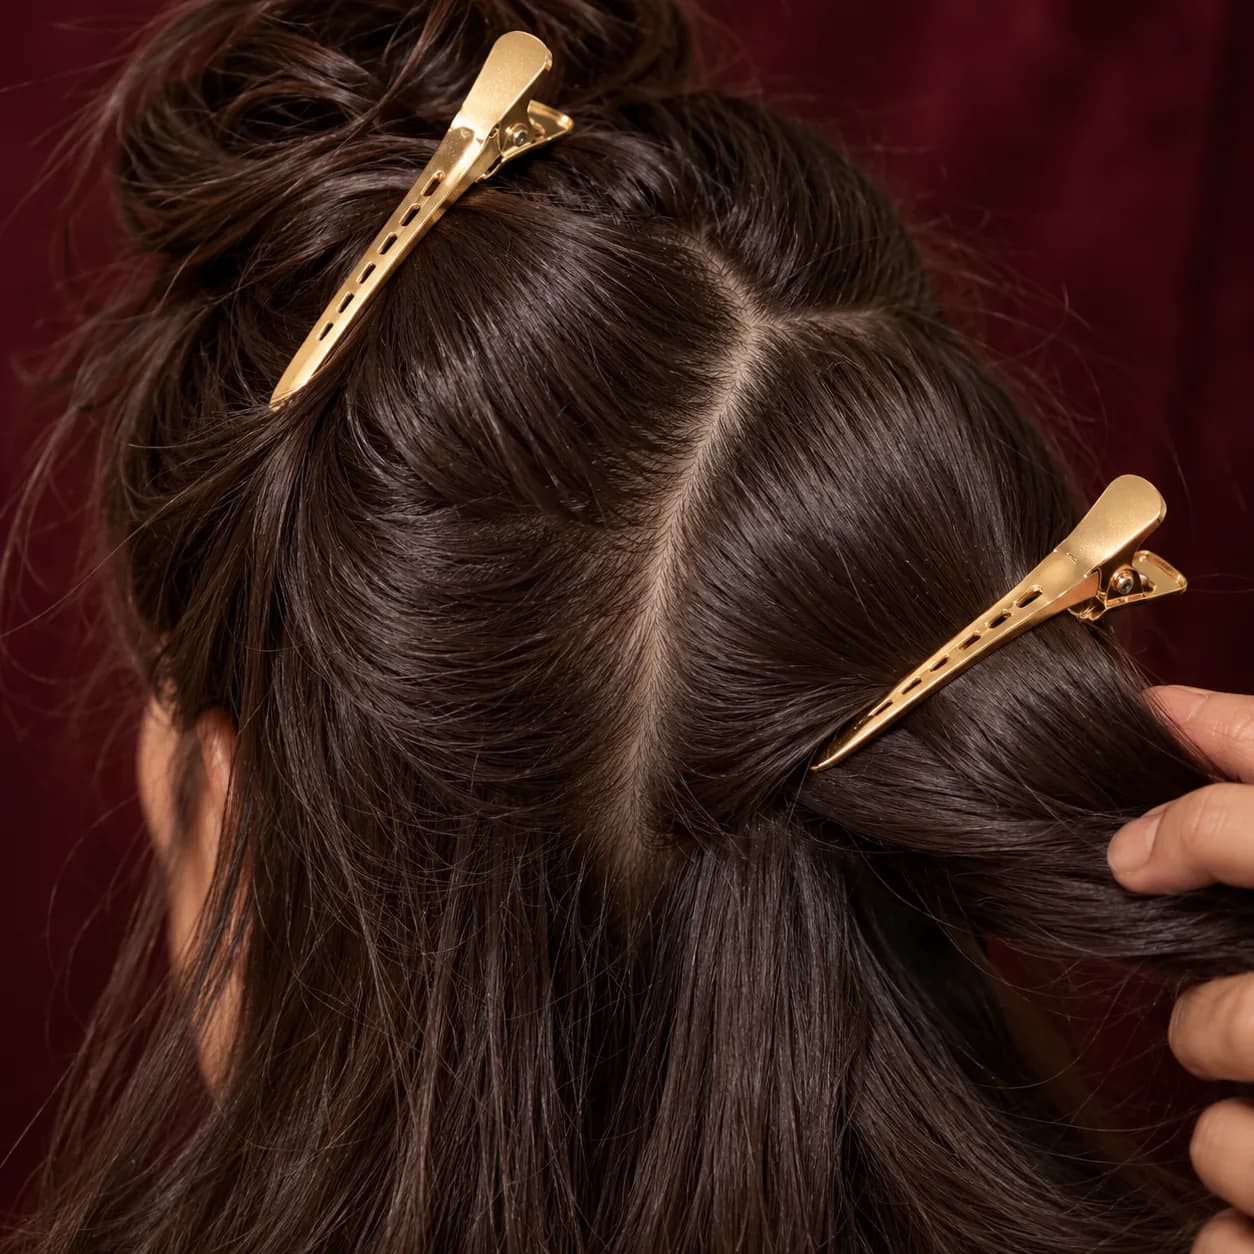
Divide into sections.Four zones held by the clips: the nape, the two sides, the top. Always start with the nape, the hardest to reach, while your arms are fresh.
Work strand by strand.A strand no wider than the brush and no thicker than a finger, the brush under the root, the nozzle above, pointing downwards. Slide slowly towards the tip, following with the air, until the strand is dry.
Shape the ends.For a soft finish, roll only the ends and heat them for a few moments: this slight curve gives the movement.
Cool.This is the step that makes it last: pass the cold air over the end still rolled before releasing it. The hair keeps the shape it has as it cools.
Finish gently.Run your fingers through to separate the hair, then, if needed, a light veil of hairspray from a good distance. A shell of lacquer will not hold any better, it will only make the hair stiff.
The brush gives the shape, the cold air keeps it.
Beginner's mistakes
- Strands that are too thick. The top dries, the underneath stays damp and frizzes an hour later.
- Air blown upwards. It ruffles the hair's cuticles and creates frizz. The nozzle should always point towards the ends.
- Heat on maximum. Hotter does not mean better. A medium temperature and a fine strand beat a burning blast. The right habits are set out in the article does blow-drying damage the hair?.
- Forgetting the cold air. Without cooling, a strand released while still hot relaxes almost at once.
- Rushing the finish. The top of the head, done in a hurry, is precisely what shows the most.
The limits, in all honesty
Even with the best method, the at-home blow-dry has its limits, and it is better to know them so you don't get discouraged.
- The back of the head. You work it without seeing it, backwards in the mirror, with your arms in the air. That is where tension is lacking and the ends fly in every direction.
- Tiredness. On long or extra-long hair, holding the brush and the hairdryer up in the air for the whole blow-dry takes real arms.
- Symmetry. The right-hand side and the left-hand side almost never give the same result.
- Refined finishes. Real root volume or even brush curls need a precision that is hard to reach on your own.
- Time. The first at-home blow-dry often takes far longer than you imagine.
That is no reason to give up. The at-home blow-dry is perfect for everyday, and for refreshing a few strands the day after a professional blow-dry: our morning steps are gathered in the article on reviving your blow-dry on the second day.
When to hand over
There are days when you want to be sure of the result: a party, an interview, a photo, or simply the wish not to raise your arms for a while.
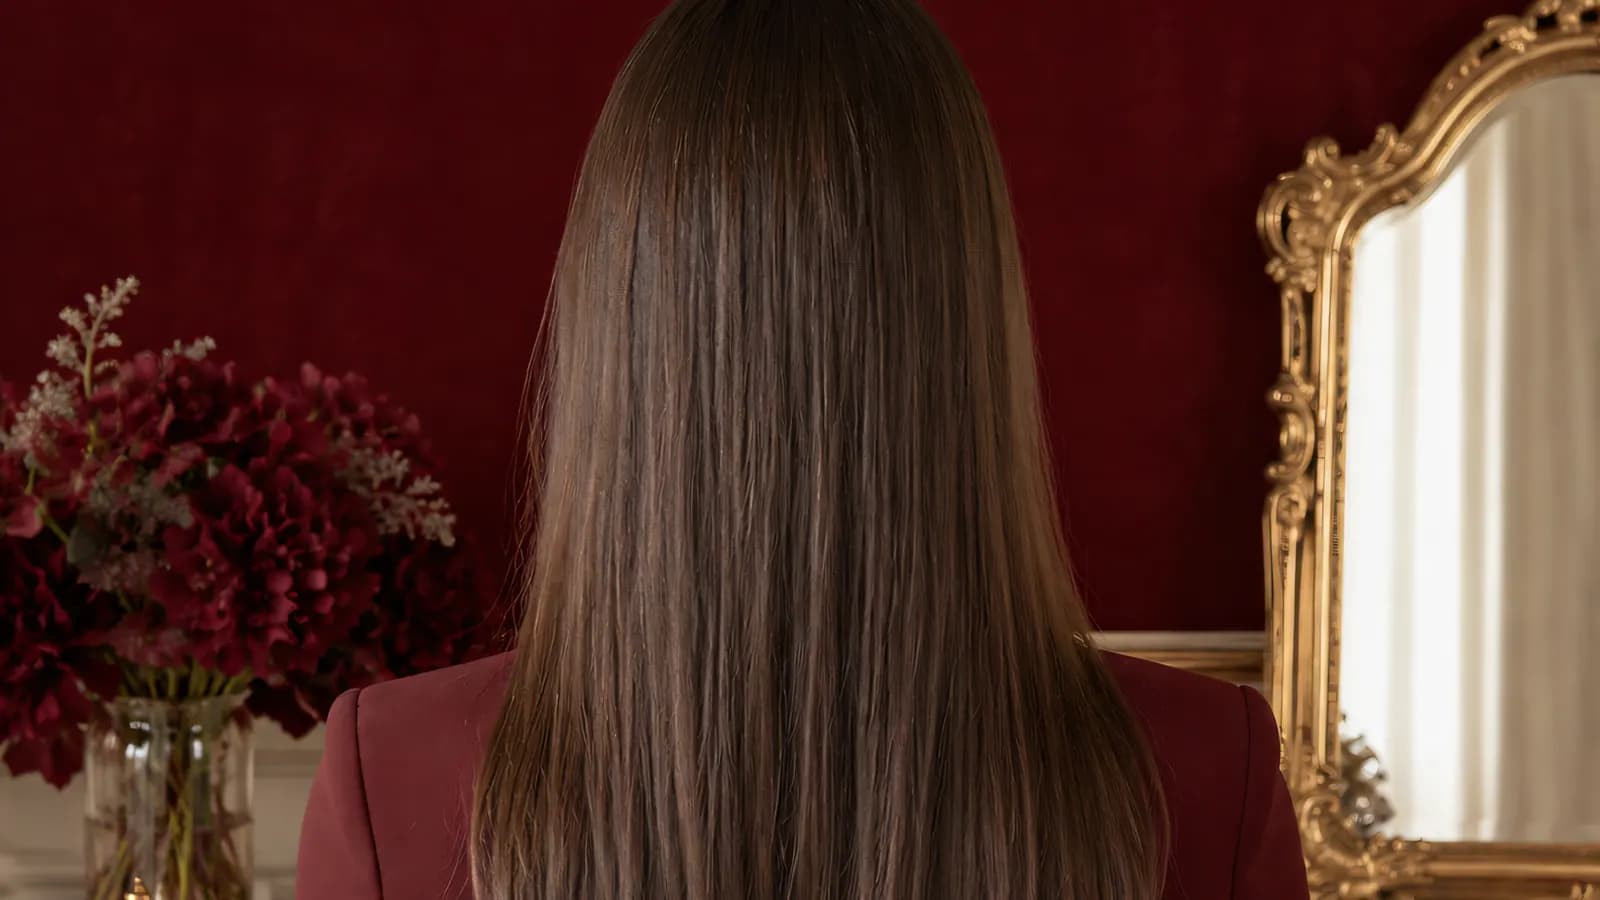
At M BRUSH, Manel, a qualified hairdresser, welcomes you in her private studio, in Lausanne, by appointment. She follows the same four stages: detangling, sections, finish, setting, with the advantage of seeing the back of your head.
You, meanwhile, stay seated. The soft blow-dry is the finish closest to what you are trying to do at home: the hold of a blow-dry, a light movement on the ends.
To compare with a sleeker result, our article sleek or soft blow-dry helps you choose.
Fancy leaving the brush to someone else? Book your soft blow-dry.
Frequently asked questions
- Which round brush should I choose for doing my own blow-dry?
- A small-diameter brush for short hair and neatly rounded ends, a larger brush for long hair and a sleek finish. Mixed-bristle brushes grip the strand well without pulling it out.
- Should I dry my hair before doing a blow-dry?
- Yes, partly. A rough-dry without a brush until the hair is almost dry saves time and limits the heat applied with the brush.
- How do you blow-dry the back of your head when you are on your own?
- Start at the nape, with fine strands, and use a second mirror to check. Bringing the strands forward, over your shoulder, also helps you pull them tauter. ---
Did you enjoy this article?
Send it to a friend who is hesitating between two finishes, or keep it for later.